
Proper and complete documentation is the foundation of any successful European project. Whether you are preparing a reimbursement request or archiving European project deliverables for an audit, every document matters. But how do you efficiently manage a document scanning guide for supporting documents when the team works in the field, far from offices with traditional scanners?
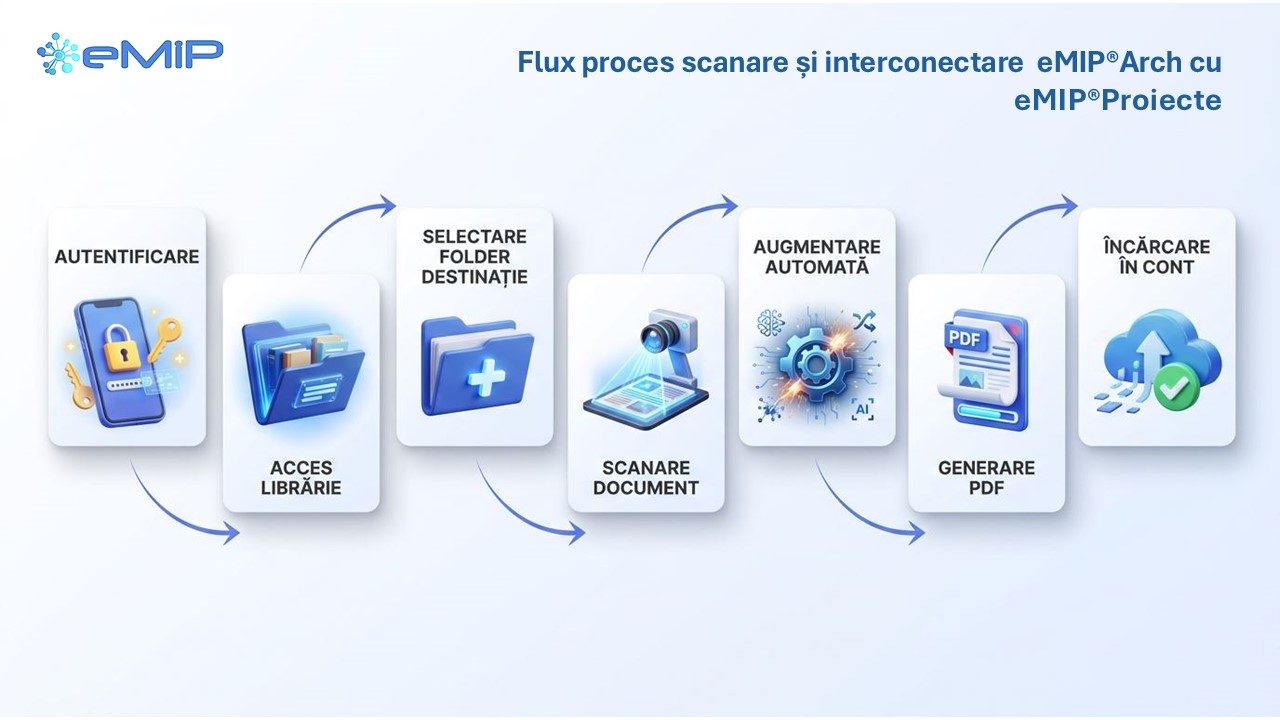
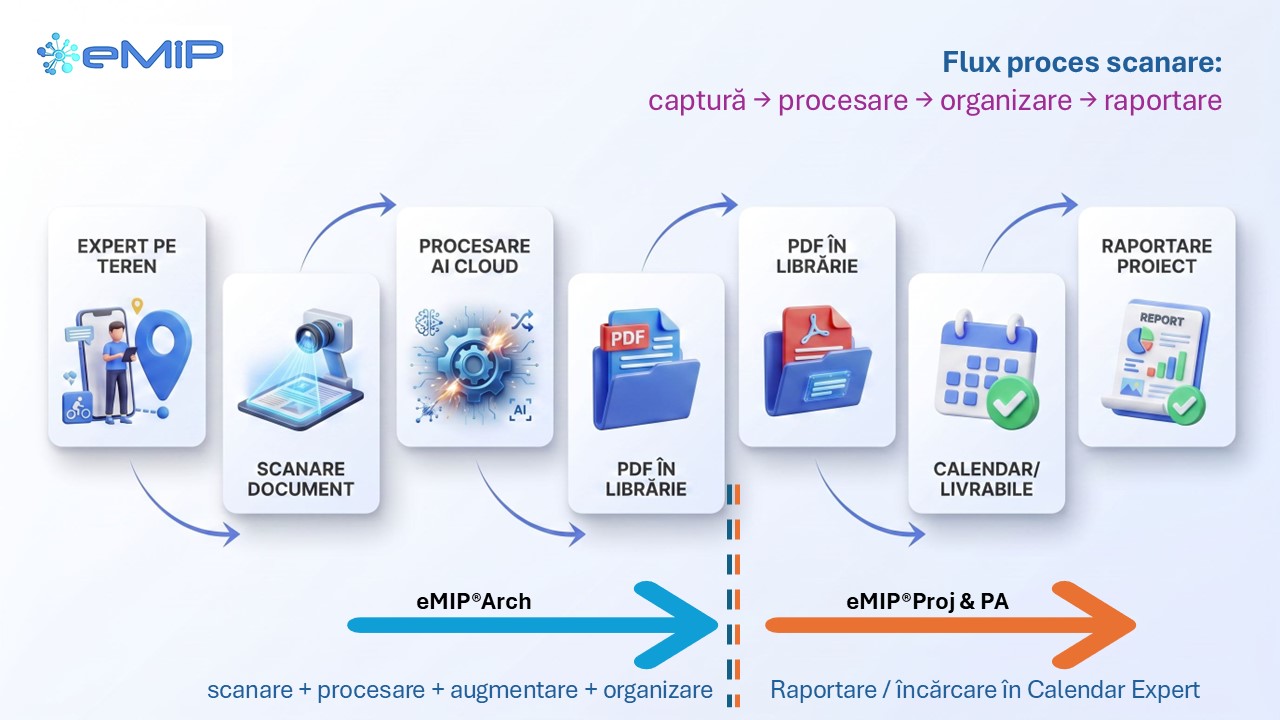
eMIP®Arch Mobile transforms this process through a complete digital workflow: from field scanning to uploading deliverables in eMIP Expert Calendar. In this step-by-step tutorial, you will learn how to use every feature of the application for PEO supporting documents and beyond.
Installation and initial setup
App download
eMIP®Arch is available free of charge on both mobile platforms:
Android: Download from Google Play
Login and account synchronization
Open the application and enter the email address and password of your account from pro.eMIP.ro.
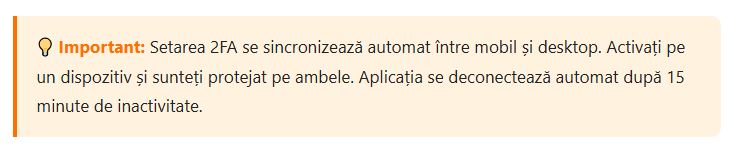
2FA setup and security
To protect sensitive documents from European projects, enable two-step authentication:
From the Dashboard, locate the card „Two-step authentication"
Activate the function with the toggle switch
Choose the code delivery method: email or SMS
At each login, you will receive a 6-digit code
Step-by-step scanning process
1. Open the application and select the destination folder
Navigate to the Library tab and enter the folder corresponding to the project. If it does not exist, create a new one using the + button → „New folder".
2. Choose the scanning mode
Press + → „Scan" and enter a descriptive name. Choose between:
Automatic mode — hold the phone steady above the document; the application automatically detects the edges and captures
Manual mode — press the capture button when you are ready
3. Capture the document
Position the camera above the document. The solution engine detects the edges of the sheet and automatically aligns it. You can add consecutive pages in the same document.
4. Automatic processing (AI augmentation)
Immediately after capture, the system automatically applies: angle correction, shadow and finger removal from the frame, brightness and contrast adjustment, intelligent content-based crop.
5. Verification and manual adjustments
Review the result of the automatic augmentation. If necessary, apply additional filters, adjust the crop, or manually modify the contrast.
6. Saving and conversion to PDF
Finish scanning. The document is automatically converted to PDF and indexed in content — you will later be able to search for text inside the file.
7. Naming and organization
The PDF is automatically uploaded to the current folder in the Library. Check the file name and, if necessary, move it to another folder using the move function.
Organizing the personal Library
A logical folder structure is essential for efficiently managing documents in European projects. Here is a recommended structure:
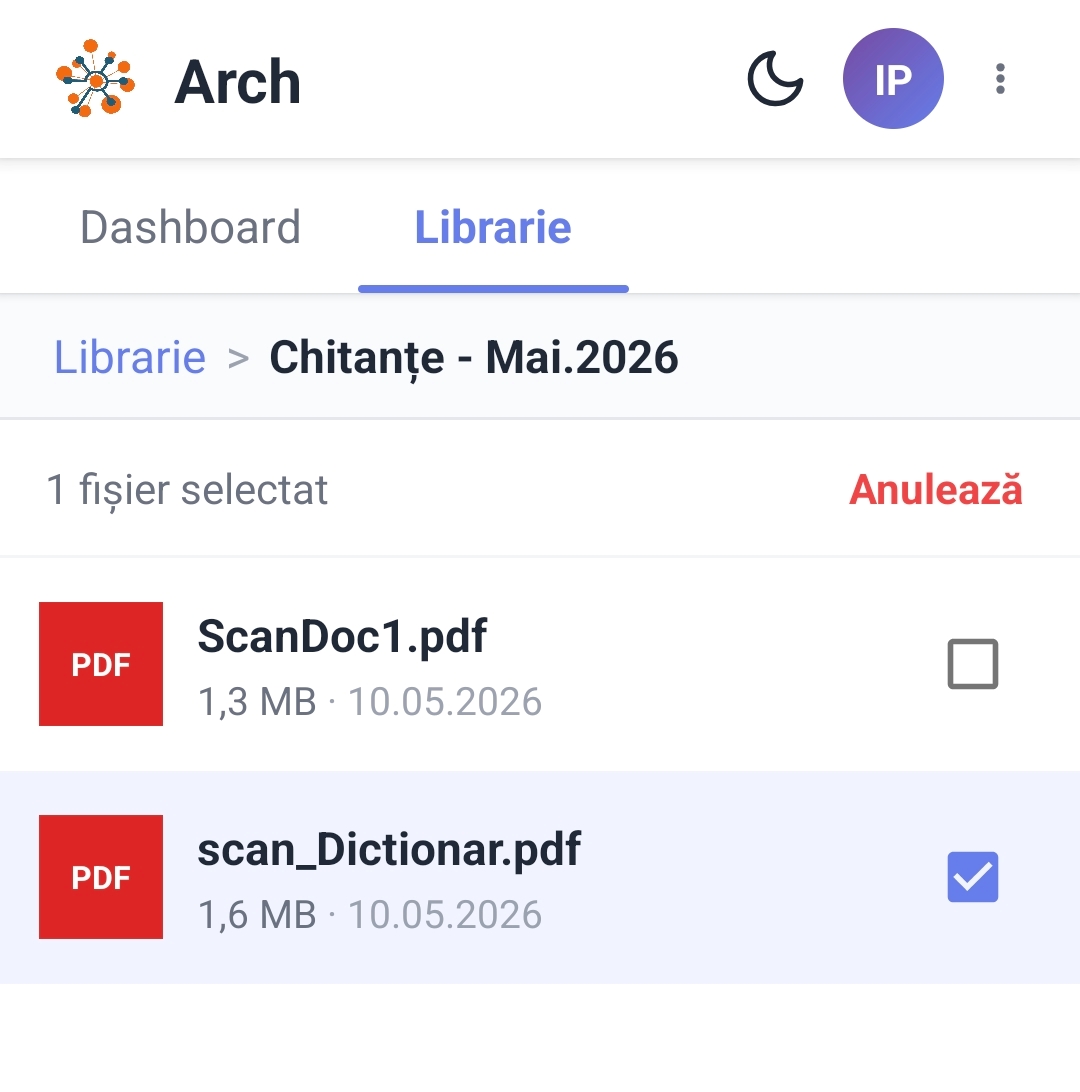
Organizational features
Move documents: Multiple selection with checkbox → choose destination folder
Rename folders: Long press on the folder → „Rename"
Full-text search: Thanks to OCR indexing, you can search text within the content of scanned documents
Visual badges: PDF files have a red badge, DOCX files a blue one — quick identification
Integration with Expert Calendar
Expert Calendar from the pro.eMIP.ro platform is the tool where PEO/POCIDIF project activities and deliverables are planned and documented. The integration with eMIP®Arch Mobile creates a continuous workflow:
Access Expert Calendar from the pro.eMIP.ro platform (the project-specific section)
Select the activity for which you want to upload supporting documents
Upload the documents from your personal Library — the files scanned in the field are already available in the cloud
Alternatively: upload documents directly from the local computer, if available
Associate the documents with the corresponding activities and deliverables

Practical usage scenarios. Do you use eMIP®Arch ?
🧾 Scanning transport receipts / field documents
The expert travels to the project location, pays for transport, and scans the receipt directly with the phone. The document is automatically sent to the „Transport Receipts" folder in the Library, ready to be associated with the reimbursement request.
📋 Capturing meeting minutes
After a team meeting in the field, the signed minutes are scanned on the spot. AI augmentation corrects the poor lighting in the meeting room, and the PDF is automatically indexed for later search.
✍️ Digitizing handwritten-signed deliverables
Deliverables requiring physical signatures are scanned immediately after signing. The professional quality of AI augmentation ensures clear and legible documents for the project file.
📦 Archiving supporting documents
Invoices, contracts, field forms — all supporting documents are scanned, organized into dedicated folders, and instantly available for audits or inspections.
Tips and best practices
Optimal lighting: Scan in natural light or with uniform lighting. Avoid direct shadows over the document — AI augmentation compensates, but a good capture delivers excellent results.
Consistent naming: Use a standard format, for example: document_type_date_project.pdf (ex: „receipt_transport_20may_PEO2026")
Clear folder structure: Create folders by categories (Receipts, Deliverables, Invoices) and by periods (Monthly, Quarterly)
Immediate verification: Review the scanned document before leaving the location — rescanning is easier on site than later
Multiple pages: For documents with multiple pages, add all pages in a single scanning session
Verified synchronization: If the documents do not appear immediately on the desktop, press F5 to refresh
Don't use eMIP®Arch ? Download the User Manual / work instructions, in PDF format: